This post contains affiliate links, meaning I may earn a commission if you click through and make a purchase. As an Amazon associate, I earn from qualifying purchases. This comes at no additional cost to you. I only recommend products or services that I believe will provide value to my readers based on personal experience or thorough research.
Dynamic poses aren’t just about making your characters look cool; they breathe life into them, making them jump off the page or screen and feel real. A dynamic pose captures motion, energy, and emotion, creating an immediate connection between the character and the viewer.
The psychological impact here is huge. Picture a superhero posed mid-leap versus one standing still with arms at their side.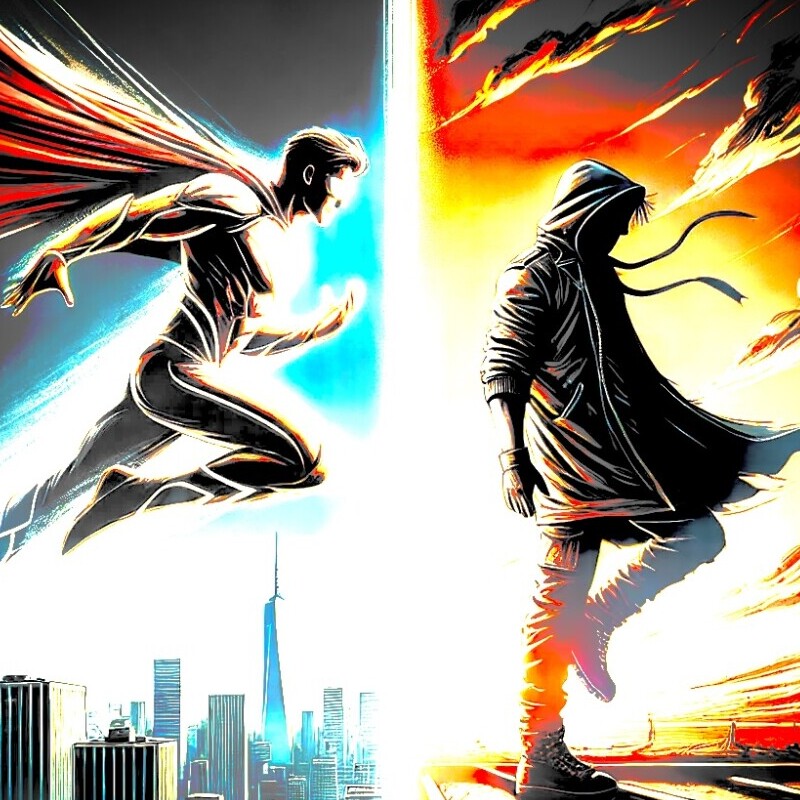 The first image packs a punch, exciting and engaging, while the other, not so much. Dynamic poses convey a story within a story, revealing character traits and emotions without a word.
Take a look at history, like the flowing poses in renaissance art or animated sequences from the golden age of cartoons. These masters have been using dynamic poses forever. They knew how to guide the viewer’s eye and evoke feelings using postures and movement.
Studying these examples can spark creativity and offer insight into time-tested methods. Whether you’re drawn to Da Vinci’s sketches or Disney’s lively characters, there’s something to learn from how these veterans visualized movement and emotion.
Emulating these dynamic figures will help you concoct your own spellbinding poses, ensuring your characters aren’t just static drawings but expressive, living creations.
Foundations of Gesture: Crafting the Base for Movement
Gesture drawing is where the magic starts. Think of it as sketching the skeleton of your character, focusing on the core movement and flow. It’s not about details but capturing the essence of the pose.
The line of action might sound fancy but it’s key. This imaginary line guides the main motion of the figure, helping to establish a sense of movement and balance.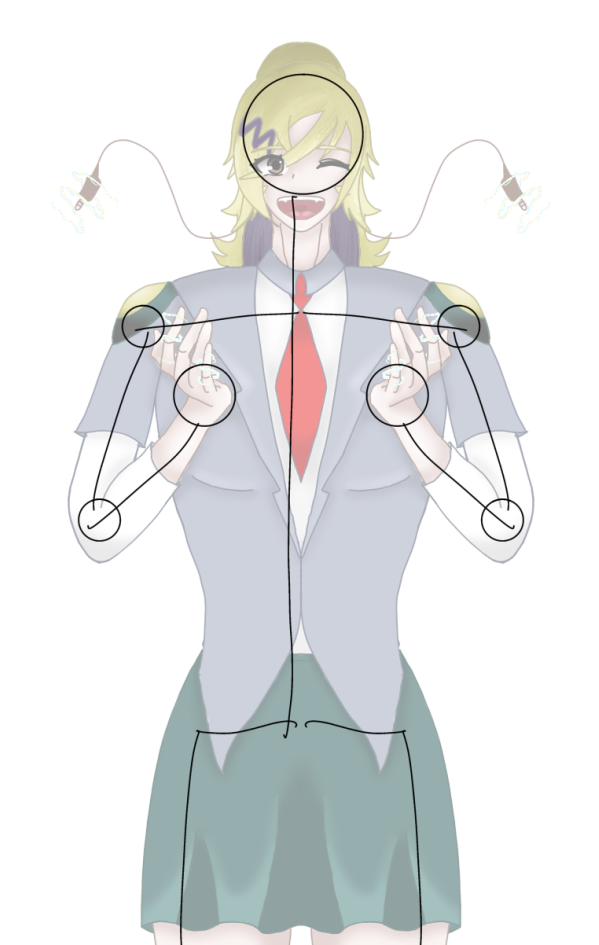
Gesture drawing can be a bit daunting at first. Maybe your lines don’t seem to make sense, or they lack fluidity. That’s okay. Mistakes are part of the learning path, and understanding where you go wrong leads you to growth.
Common pitfalls? Overthinking the details instead of going with the flow can rob your drawing of life. Keep it loose and free, but be mindful of the energy that drives your character. It’s like capturing lightning on paper.
Practice with quick sketches, using short time frames to push you toward capturing movement rather than details. This helps build your confidence and understanding of what a dynamic pose should feel like. Use reference poses if you need, but always aim to interpret rather than replicate.
Mastering Anatomy: Building Strong and Natural Poses
Anatomy might seem all clinical and dry, but trust me, it’s your best friend when it comes to sketching natural poses. Understanding how bones and muscles work helps you create poses that are strong and feel right.
Think of anatomy as the structural engineer behind your art. Just like you wouldn’t build a house without a blueprint, you shouldn’t dive into character design without grasping the basics of anatomy. It keeps your poses from looking stiff or awkward.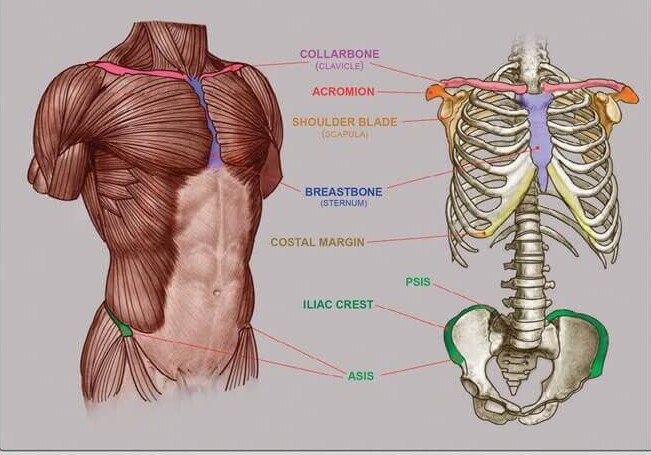
Start by observing your own body movements or looking at others. Watch how muscles flex and how joints pivot when you move. This real-life study will give you an intuitive sense of how bodies naturally align themselves.
Books and models are helpful resources to boost your knowledge of human anatomy. You don’t have to memorize every bone and muscle, but recognizing major muscle groups and joints can make a huge difference in your work.
Adding Emotion and Expression: Infusing Character into Poses
Body language speaks louder than words when you’re drawing characters. Emotion through pose can turn a good drawing into a memorable one, revealing your character’s heart and soul.
Balancing realism with a touch of exaggeration is the sweet spot. Go too absurd, and it becomes a caricature; keep it too real, and it might just lack flair. The key is to find that middle ground where your character shows emotion without losing their believability.
Think about the subtle cues we see in real-life interactions. A slight tilt of the head, the way an arm crosses the body, each movement can hint at what’s going on inside. Experimenting with different expressions and gestures will help you find new ways to communicate these unspoken feelings. 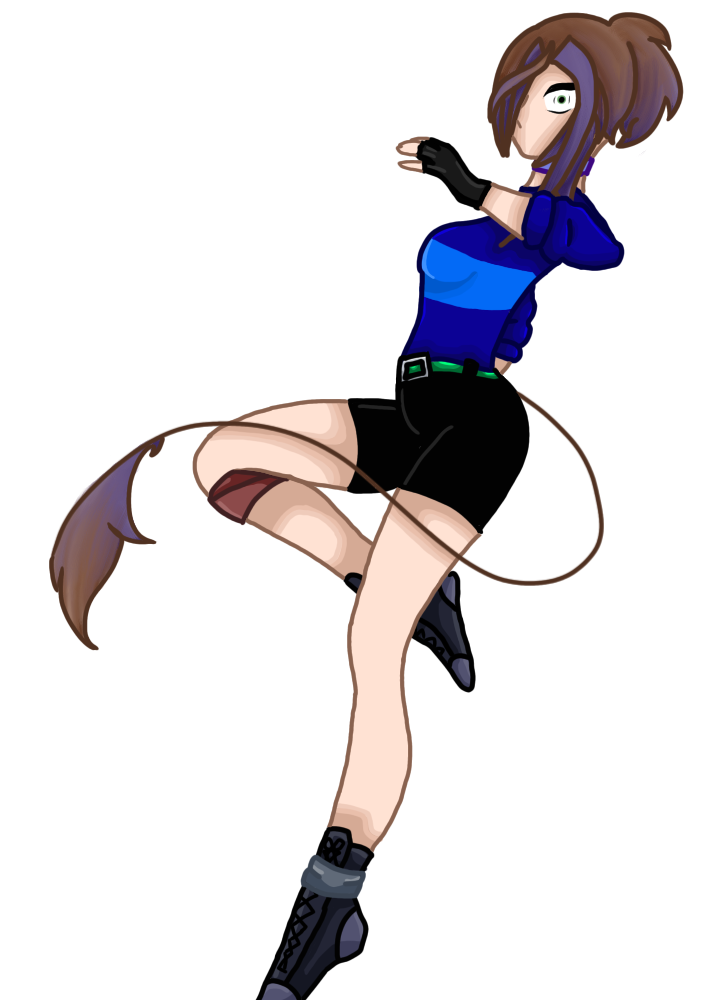
Facial expressions are just half the story. Mix them with body gestures to fully convey your character’s state of mind. Someone slouching with a frown suggests defeat, while an open stance with bright eyes shouts optimism.
Getting this right can sometimes feel tricky. Sketch out quick variations of poses focused solely on emotion, no need for perfection. Look at how classic animators use these techniques—they’re masters at channeling emotion through characters that truly resonate with audiences.
Remember, you’re creating stories with every pose, whether it’s joy, anger, or sorrow. Let your characters express themselves fully, and they’ll connect deeper with the viewers.
Using References and Tools: Enhancing Creativity with External Help
Using references isn’t cheating; it’s like having a trusty map when you’re charting unfamiliar territory. References give you a solid footing when tackling complex poses or structures.
Photos and digital tools open up a world of options. You can analyze different body types, action poses, and even lighting conditions with just a few clicks. This variety helps develop versatility in your character sketches.
Get hands-on with 3D software if you can. Programs like Blender it allows you to pose models in ways that are nearly impossible with traditional 2D drawing. These tools are fantastic for understanding perspectives and angles.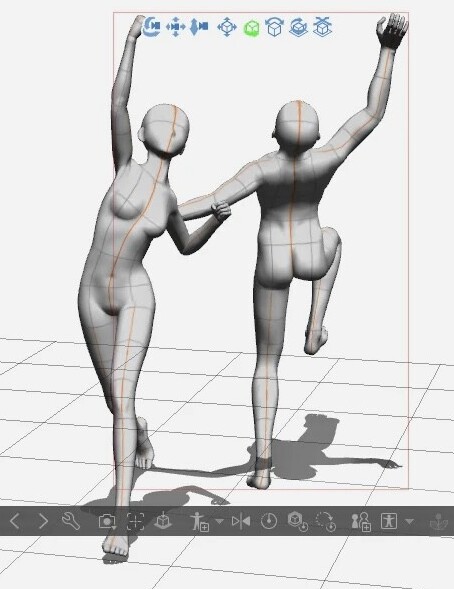
Creating a visual library isn’t just for inspiration, it’s a practical resource. Compile images, sketches, or even movie clips that catch your eye. When you’re in a creative rut, flicking through your collection can spark fresh ideas.
Be cautious though—too much reliance on references can stifle your creative voice. Use them as a starting point, but always strive to inject your unique flair into your artwork. Mix what you observe with your own imagination to craft something uniquely yours.
In essence, think of references and tools as a collaborative partner in your creative process. They complement your imagination, helping you push boundaries and explore new creative avenues without getting lost.
Practice and Feedback: Embarking on Continuous Improvement
No amount of reading or reference-gathering beats the good old practice. Putting pencil to paper is where theory meets reality, and improvement happens. Regular practice hones your skills, making every part of the process feel more intuitive over time.
Creating a structured routine can make a huge difference. Set aside specific times for your drawing sessions, and focus on particular aspects like anatomy, gesture, or facial expressions. Over time, you’ll spot the areas that need more attention and others that feel more natural.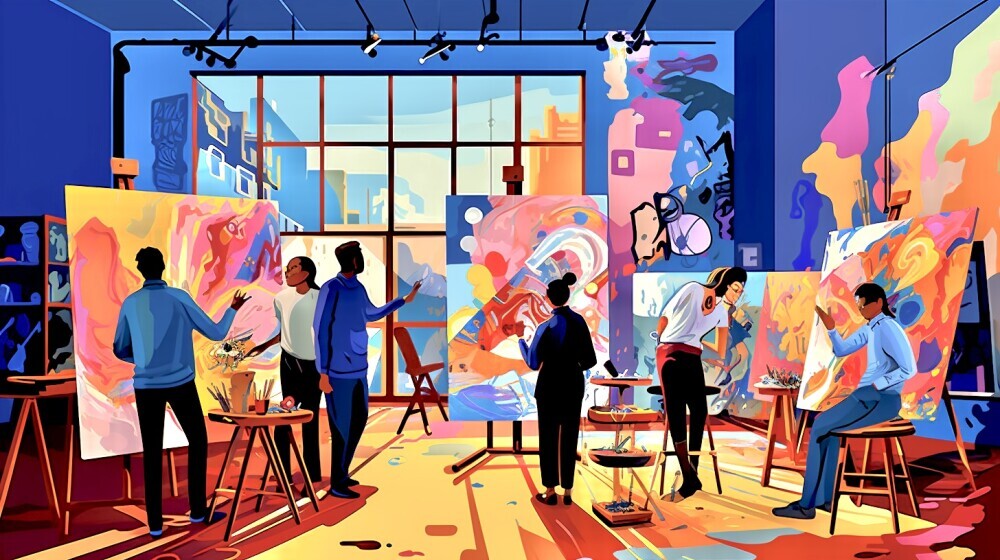
Seeking feedback is crucial in this journey. Join an art community, share your works, and invite critique. While it might feel intimidating at first, outside perspectives can highlight things you might have missed, and constructive criticism helps you grow.
Mentorship can provide another layer of guidance. Finding someone who has walked the path before you can offer direction and inspiration. Remember, even the most skilled artists were once in your shoes, learning and evolving.
Keeping up with trends can also benefit your development. Styles change, and there’s always something new in the art world. Adapting these into your work can keep your characters fresh and relevant while also prompting you to stretch your capabilities.
Every drawing session is a chance to improve. The journey never really stops, and with each stroke, you’re getting closer to creating those vibrant, lifelike characters that tell their own stories effortlessly.


This article really highlights how much a dynamic pose can bring a character to life. I’ve found that getting the balance between anatomy and emotion can be tricky—too much exaggeration and it feels off, but too little and the character feels flat. How do you decide when a pose is dynamic enough without crossing that line? I’m also curious, do you ever struggle with capturing those subtle emotions in body language? It’s something I’m constantly working on!
Oh, finding that just-right pose is such a fun challenge! It’s like walking a tightrope—you want the pose to tell a story and feel alive without going so over-the-top that it becomes, well, extra. Here’s how I approach it:
Deciding When a Pose is Dynamic Enough:
Start with the Story: What’s the character feeling or doing in that moment? A dynamic pose should always serve the narrative or emotion. If the story is clear when you squint at the silhouette, you’re probably on the right track.
Check the Line of Action: A strong, clear line of action is key for dynamism. If the pose feels too stiff, exaggerate the curve a bit. But if it starts looking unnatural or cartoonishly over-stretched, that’s a sign you’ve gone too far.
Test the Balance: I try to balance energy with grounding. Even in the most action-packed poses, the character’s weight should feel believable. If their center of gravity looks like it’d topple them over IRL, I pull it back.
Use Iterations: I like to sketch the same pose a few different ways—some subtle, some extreme—and then pick the one that feels the most “alive” without going overboard.
Capturing Subtle Emotions in Body Language:
Oh boy, yes, I’ve definitely struggled with this! 😅 Subtle emotions are harder than action poses because they rely on the tiniest shifts. Here’s what helps me:
Focus on the Hands and Face: Tiny adjustments in hand positioning or head tilt can say so much. A character looking down slightly with their shoulders rounded feels shy, while a slight upward chin tilt with relaxed shoulders feels confident.
Mirror It: This might sound cheesy, but I’ll act out the pose myself—look in the mirror or take a selfie. Even just imagining how my body feels when I’m happy versus nervous helps translate those emotions into my work.
Study Everyday Moments: People-watching (or even pausing movies) is a goldmine. Subtle body language is everywhere—like someone shifting their weight when they’re unsure or fidgeting with their sleeves when they’re nervous.
Exaggerate, Then Refine: Sometimes I’ll over-exaggerate a subtle emotion first, just to get the essence down. Then I tone it back until it feels realistic but still clear.
Ultimately, for both dynamic poses and subtle emotions, it’s all about connection!